Why sprout?
Sprouted seeds are a powerhouse of nutrients – naturally vitamin and mineral rich, high in phto-chemicals, colon-healthy fibre, detoxifying chlorophyll, moisture, enzymes and amino acids that your body needs to build complete proteins.
Eating sprouted seeds on a regular basis has been used by many civilisations for centuries as a means of improving digestion, combating tiredness and stress and promoting health.
What is sprouting?
Sprouting is another name for germinating – essentially the sprouting process results in a partially grown or young plants. The seeds are the most nutrient dense part of a plant and therefore a sprouted seed is an entire plant packed into a suitcase!
Seeds themselves are well protected as they are covered in enzyme inhibitors to prevent early germination until the growing conditions are right. These enzyme inhibitors are water-soluble and once they are washed away the germination process can begin and the seeds burst into life.
Therefore when a seed, bean, pulse, nut or grain is soaked in water for a period of time, the plant’s enzyme inhibitors are removed enabling the plant to grow at a rapid rate. As the growth continues the vitamin content increases dramatically, to the stage where the sprouted seed can contain hundreds or thousands times more vitamins than it did previously, and the protein, carbohydrates and fats begin to break down into a pre-digested form making for easier and better digestion and overall assimilation.
What can be sprouted?
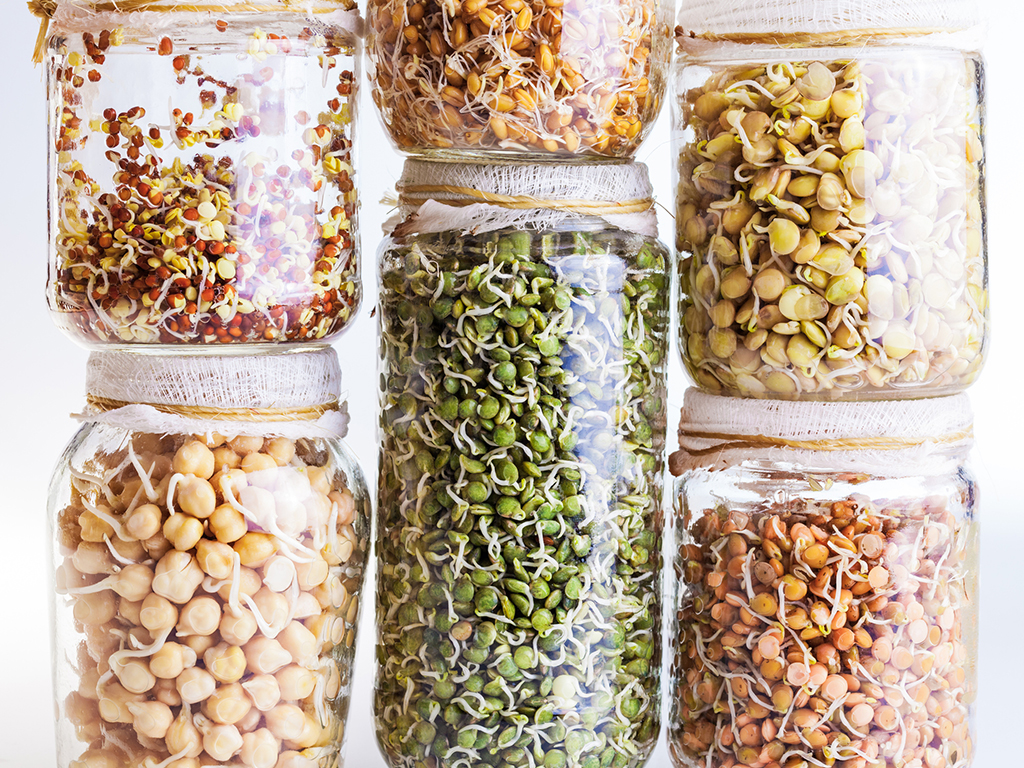
Nuts, seeds, grains, pulses and beans can all be sprouted. Sprouting is very easy, but some are easier to sprout than others. The easiest ones tend to be mung, lentil, fenugreek, chickpea (garbanzo) and quinoa and mastering the sprouting of these will help you get more confident about sprouting other seeds and beans that take longer to grow or are slightly more tricky to sprout. For example, broccoli is a tiny seed which is very delicate and therefore harder to grow.
How do I sprout – a guide?
Equipment: Although you don’t really need any fancy equipment, there are some pieces of equipment that will help. These include jars, hessian bags and trays and even automatic sprouting machines. If you are using a jam jar you will need a mesh lid of some kind – such as a piece of netting or you can use a jar with a mesh lid already integral to it.
You will also need some seeds or beans for sprouting. Ideally these should be organic. Some of the most popular sprouting seeds and beans include: alfalfa, clover, radish, garlic, wheatgrass, sunflower, sweet pea shoots, mung bean, broccoli, buckwheat, fenugreek and cabbage.
Soaking: whether beans or seeds are being sprouted, for best results, they need to be soaked first in cold, fresh water. The amount of soaking time varies. Typically, for beans, soak overnight, for a minimum of 12 hours; for seeds, soak for about four hours.
The seeds will massively expand as they hydrate, so leave plenty of room for air to circulate in the jar or tray.
Washing: After the soaking period, fill the jar with water and pour off any excess water rinsing the seeds or beans thoroughly. The contents should be thoroughly rinsed and then the water drained out again until the water is running completely clean. Leave the jar up-ended for the next 24 hours, so that the rest of the water can drain away and fresh air can take its place, making sure that any remaining water has been removed by shaking it out. Do not allow the sprouts to sit in water as the seeds are delicate and they will go mouldy very easily and rot. It is the washing process which is important not watering.
The more thorough the rinsing the better the condition of the sprouts. It prevents them drying out and will wash away the accumulation of their by-products as well as any moulds that may inhibit at this stage.
Keep them at room temperature and out of direct sunlight to ensure they don’t dry out. If it is a warm time of year, rinse the sprouts twice daily as they will become more easily dehydrated; if it is colder, once will usually be enough. The combination of moisture, ambient warmth and fresh air creates perfect growing conditions.
This washing process should be repeated once a day until the sprouts are ready to eat.
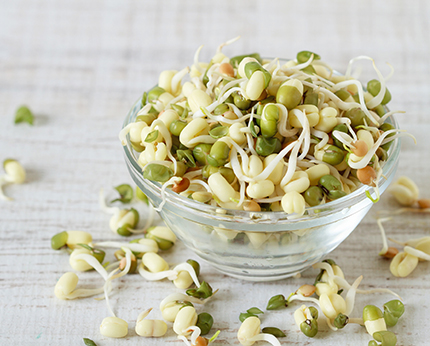
Harvesting: Once the seeds and beans have germinated they are ready to eat. Seeds are best eaten when the first set of leaves have developed. Nutritional value will be lost if they are left to grow to a second set of leaves. Beans are ready when the first shout appears, but do not let the “tail” grow longer that ½ “/1.27 cms. The likely germinating time will vary according to light, temperature and frequency of washing. Below are typical growing times.
Typical Growing Periods
- Quinoa 2-3 days
- Fenugreek 2-3 days
- Lentils 2-3 days
- Mung Bean 2- 3 days
- Radish (red) 5-6 days
- Cabbage 5-6 days
- Broccoli 5-6 days
- Alfalfa 5-8 days
- Clover 7 days
- Sunflower 9 days
Storage: Once the sprouts are ready for eating, remove them from the jar. They can be stored in the fridge for about 5 days. Rinse them before eating as you would do when preparing any fresh vegetable. Make sure air can still circulate when they are being stored.
REFERENCES
Elaine Bruce – Living Foods for Radiant Health
https://livingfoods.co.uk/sprouted-seeds/
www.livestrong.com/article/408757-health-benefits-of-mung-bean-sprouts/